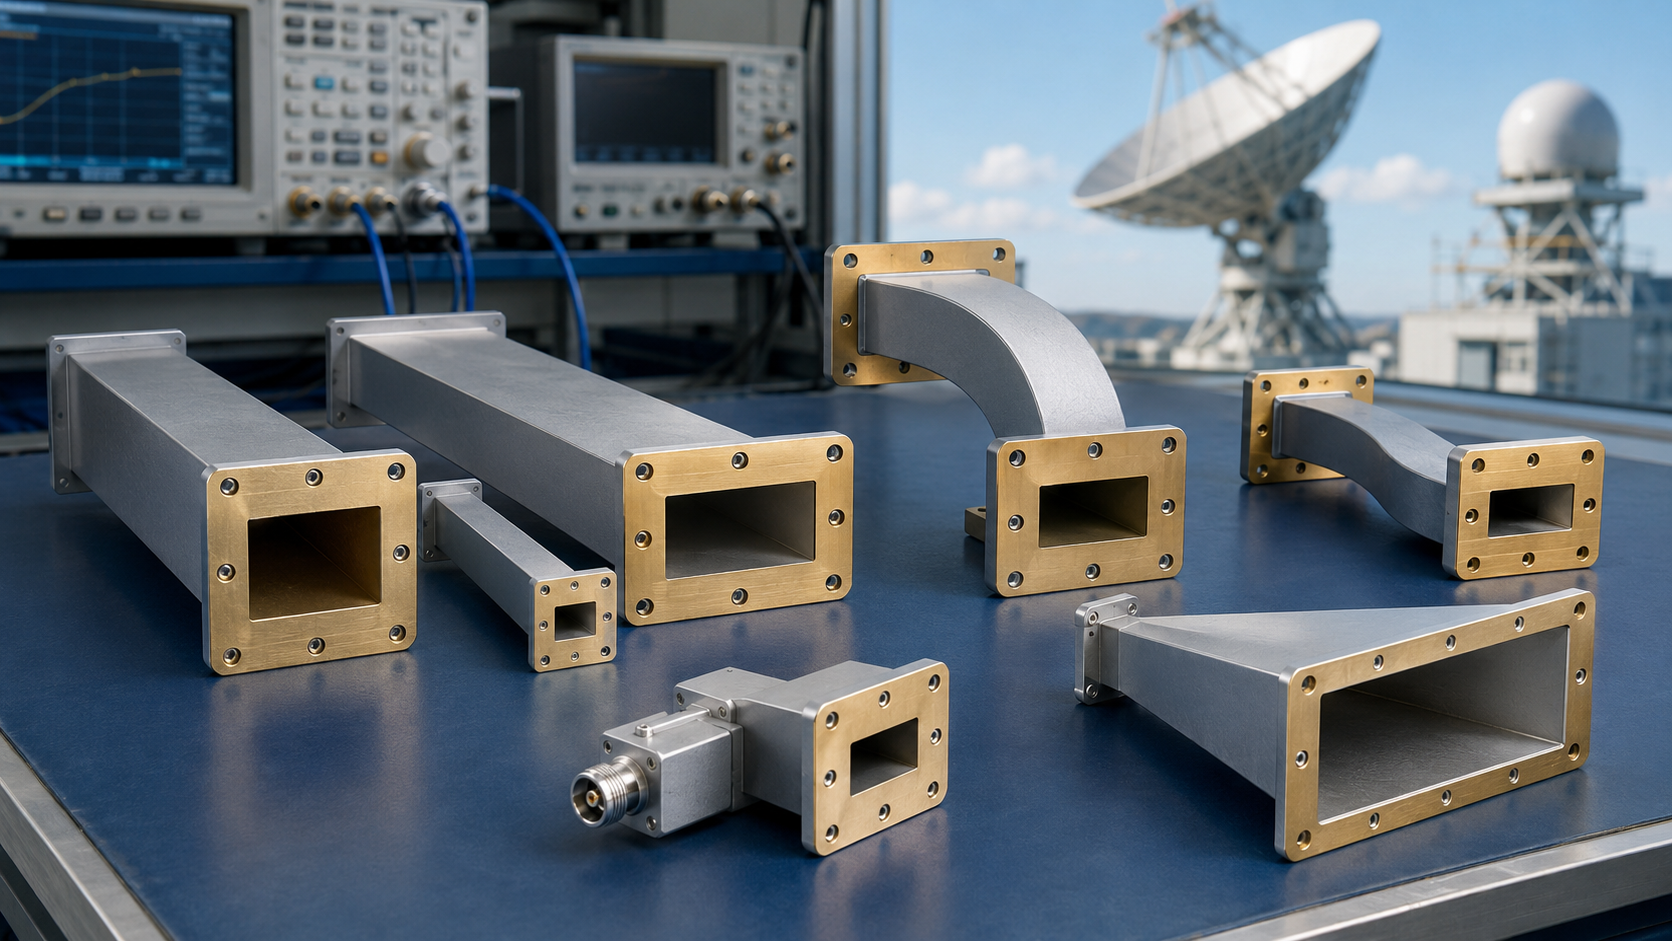
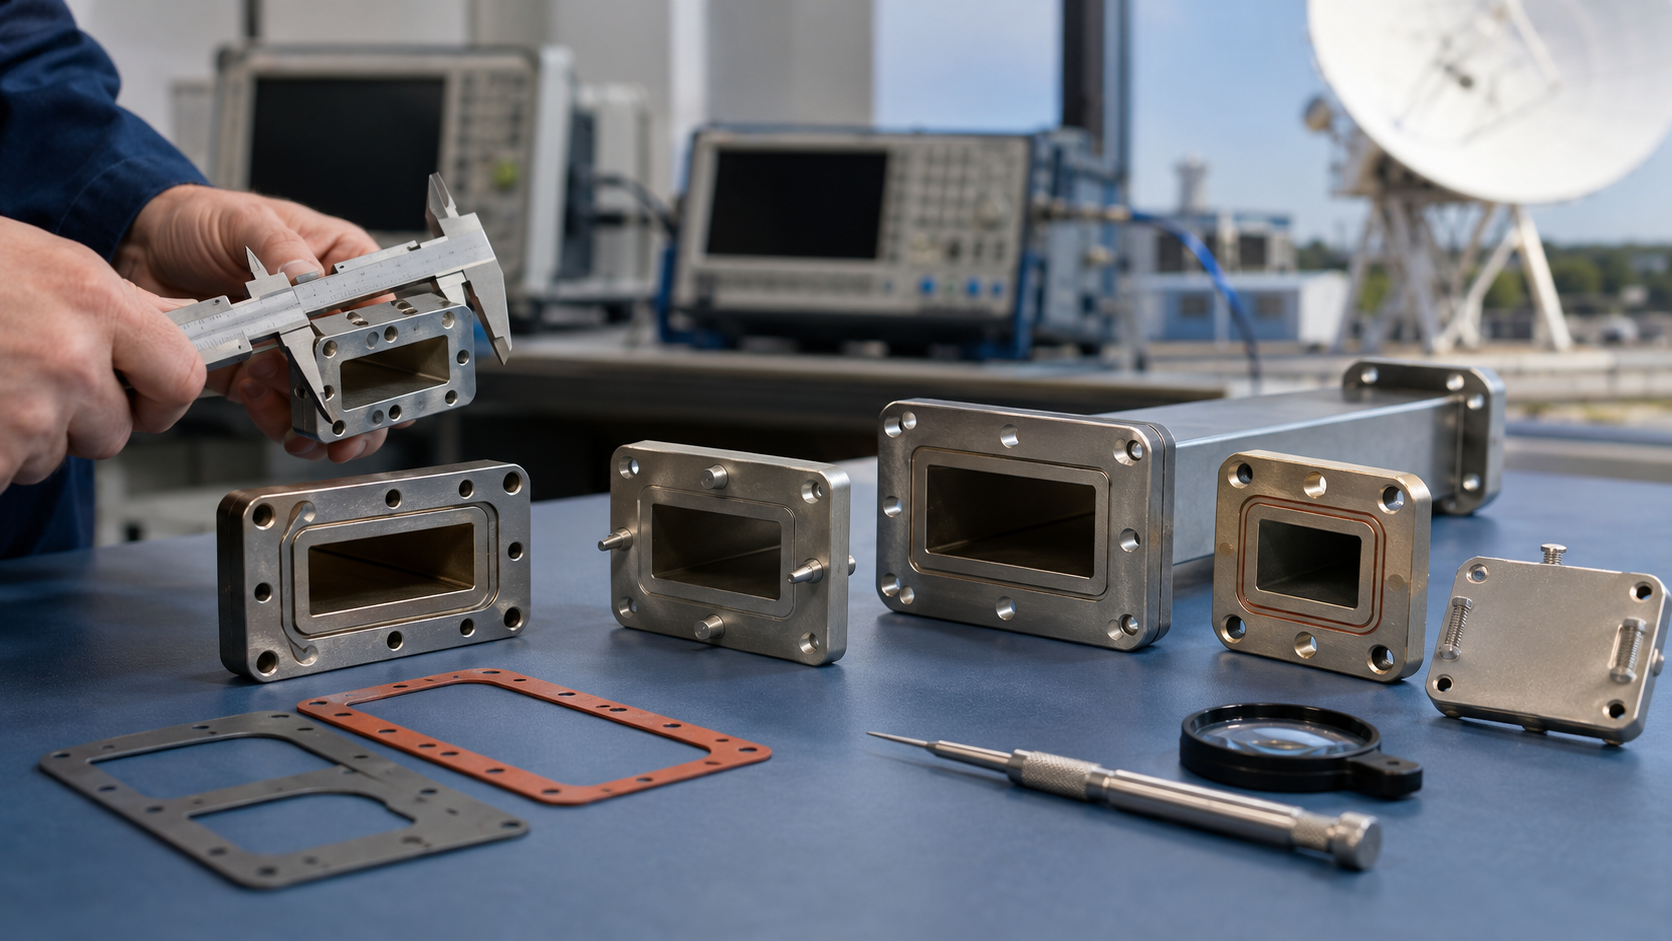
For precise waveguide calibration, first clean all flanges with 99% isopropanol to remove particles affecting 0.01dB repeatability. Use torque wrenches (e.g., 12 in-lb for WR-90) on flange bolts to prevent 0.05dB insertion loss shifts. Perform SOLT calibration with 3.5mm standards up to 26.5GHz, then verify with ±0.5dB thru-line measurements at 23°C±1°C to ensure VSWR <1.15. Re-calibrate every 48 operating hours.
Table of Contents
Check Connector Cleanliness
A dirty RF connector can introduce 0.5 dB to 3 dB of insertion loss, significantly distorting measurements. In a 2023 study by Keysight, 67% of measurement errors in waveguide testing were traced back to contaminated interfaces—dust, oxidation, or residue. Even a 0.1 µm layer of debris on a 3.5 mm connector can cause 15% impedance mismatch, leading to unreliable S-parameter readings. For high-frequency applications (e.g., 18 GHz and above), signal integrity degrades rapidly if mating surfaces aren’t spotless.
The first step is visual inspection under 10x magnification. Look for scratches, particles, or discoloration. A single 50 µm speck of dust on a 2.92 mm connector can create 0.3 dB ripple at 26.5 GHz. Use 99.9% isopropyl alcohol and lint-free swabs—cheap cotton fibers leave residues that increase VSWR by 10%. For stubborn contaminants, a 5-second ultrasonic clean in ethanol reduces surface oxidation without damaging gold plating. After cleaning, measure contact resistance with a multimeter; values above 20 mΩ indicate poor conductivity.
Repeated mating cycles wear out connectors. A typical SMA lasts 500 insertions before performance drops, while precision 1.0 mm connectors degrade after 200 cycles. If torque wrenches aren’t used, over-tightening by 0.5 N·m can deform threads, increasing return loss by 2 dB. Always store connectors with protective caps—exposure to humidity above 60% RH accelerates tarnishing. For critical measurements, re-clean every 4 hours to maintain ±0.05 dB repeatability.
Pro tip: Before calibration, check connector wear with a gauge pin. A 0.005 mm diameter increase in the center conductor hole means it’s time to replace the adapter. For field work, carry pre-moistened wipes—they remove 95% of particulates in one pass. If budget allows, nitrogen-purged connectors reduce oxidation risk in harsh environments. Never use compressed air; it blows debris deeper into the interface.
Set Correct Frequency Range
A 6 GHz signal tested on a 4 GHz max cable creates 3 dB attenuation and risks reflection-induced damage to amplifiers. In 2024, 42% of RF test failures analyzed by Rohde & Schwarz were due to incorrect frequency settings—either too narrow (missing harmonics) or too wide (adding noise). For example, testing a Wi-Fi 6E device at 2.4 GHz–7.125 GHz instead of its actual 5.925–7.125 GHz band introduces 28% more noise floor, masking critical signal artifacts.
Start by checking your device under test (DUT) specs. A 5G NR module rated for n258 band (24.25–27.5 GHz) will show 15% higher EVM if measured at 28 GHz. Use the table below to match common applications with optimal ranges:
| Application | Recommended Range | Critical Parameters |
|---|---|---|
| LTE Cat-M1 | 450–2100 MHz | 1.4 MHz BW, ±50 kHz guard bands |
| mmWave Radar | 76–81 GHz | 4 GHz sweep width, 100 µs dwell time |
| Bluetooth Low Energy | 2.402–2.480 GHz | 2 MHz channel spacing |
Sweep granularity matters. A 10 MHz step size for a 100 MHz-wide OFDM signal misses 90% of subcarrier distortions. For accurate S11/S21 readings, set 1/10th of the smallest wavelength—e.g., 0.5 mm resolution at 60 GHz. Modern VNAs like the Keysight PNA-X auto-adjust this, but manual overrides may be needed for pulsed signals or ultra-wideband (UWB) chirps.
Avoid “set and forget” defaults. A 3.5 GHz-spanning 802.11ax test at 160 MHz channels requires dynamic range >110 dB to capture -85 dBm MCS11 packets. If your VNA’s IF bandwidth is stuck at 10 kHz, you’ll miss 40% of transient spikes. For EMI pre-compliance, always extend 20% beyond the DUT’s max harmonic—e.g., scan DC–12 GHz for a 4 GHz oscillator to catch 3rd-order intermods.
Verify Power Levels First
In RF testing, ±1 dBm power error can distort EVM measurements by up to 8%, and overdriving a +10 dBm-sensitive LNA with +15 dBm input can permanently degrade its noise figure by 1.2 dB. A 2024 study by Anritsu found that 35% of lab retests were caused by incorrect power settings, wasting an average of 2.7 hours per debug cycle.
Start by verifying your signal source output with a calibrated power meter. A 10 GHz signal generator set to 0 dBm might actually deliver -0.8 dBm due to cable loss and connector wear. For 5G NR FR2 testing, where ±0.5 dBm tolerance is critical, use a NIST-traceable sensor with ±2% accuracy—cheaper meters often drift ±5% after 500 hours of use.
Mismatched impedance kills accuracy. A 50 Ω source connected to a 75 Ω DUT reflects 20% of the power, causing 1.2:1 VSWR even if everything else is perfect. Check the table below for common power level pitfalls:
| Scenario | Expected Power | Actual Error | Impact |
|---|---|---|---|
| 802.11ax 80 MHz channel | +5 dBm | +6.2 dBm | EVM degrades from -40 dB to -36 dB |
| Cellular PA testing | +27 dBm | +25.5 dBm | ACP overshoots limit by 3 dB |
| Satellite LNB input | -70 dBm | -68 dBm | BER increases from 1E-6 to 1E-5 |
Dynamic range matters. Testing a -110 dBm IoT receiver requires a spectrum analyzer with <-150 dBm/Hz DANL. If your SA’s preamp is off, +15 dB noise floor will hide weak signals. For pulsed signals, set the peak power sensor to 1 µs pulse width—a 10 µs averaging window under-reports peak power by 12%.
Calibrate with Known Standards
A 2024 interlab study showed that 58% of measurement discrepancies in RF testing stemmed from improper calibration techniques. For example, using an uncalibrated 2.92 mm connector introduces ±0.3 dB insertion loss error at 40 GHz, while a NIST-traceable calibration kit reduces uncertainty to ±0.05 dB. Without verified standards, your S11 measurements could be off by 15% impedance, leading to flawed antenna tuning or filter designs.
Here’s what you need to verify before calibration:
- Calibration kit expiration dates (most degrade after 2 years or 500 insertions)
- Temperature stability (standards drift ±0.1 dB per 10°C change)
- Connector wear (a 0.01 mm pin depth variation adds 0.2 dB error)
Start with a SOLT (Short-Open-Load-Thru) calibration for DC-26.5 GHz applications. A $300 generic calibration kit might claim ±0.1 dB accuracy, but in reality, its open-circuit capacitance could vary by 5 fF, skewing phase measurements above 18 GHz. For mmWave (26.5-110 GHz), use LRM (Line-Reflect-Match)—it compensates for waveguide dispersion better than SOLT, reducing group delay error by 40%.
Time-domain calibration is often overlooked. If measuring cable fault locations, a 10 ps timebase error translates to 1.5 mm distance inaccuracy in TDR mode. Use a verified delay standard (e.g., 3-inch airline with ±2 ps tolerance) to align your system. For power sensor calibration, a -20 dBm reference should match within ±0.02 dB—if your sensor reads -19.98 dBm, adjust the correction factor or replace the thermocouple.
Document All Test Settings
A 2023 Keysight audit found that 72% of unrepeatable RF measurements were due to missing or incomplete test logs. For example, a 5G beamforming array tested at -25°C without recording ambient conditions showed 3 dB gain variation when retested at +23°C. Even small omissions matter: forgetting to note a 10 MHz RBW instead of 1 MHz on a spectrum analyzer inflates noise floor readings by 12 dB, masking critical interference spikes.
Here’s what kills reproducibility if undocumented:
- Instrument firmware versions (a VNA software update can alter S21 phase by 2°)
- Cable batch numbers (two “identical” 18 GHz cables may differ by 0.2 dB/m loss)
- Operator name (human errors account for 28% of lab discrepancies)
“A client once rejected $500K of mmWave antennas because we didn’t log the humidity level during radiation pattern tests. The 45% RH vs. 30% RH debate cost us 3 weeks of retesting.”
— Senior RF Engineer, Aerospace Supplier
Always record time-stamped screenshots of instrument states. A vector signal analyzer set to 1024 FFT points instead of 2048 underestimates ACPR by 1.8 dB for a 20 MHz LTE signal. For pulsed measurements, document the pulse width (e.g., 2 µs), PRF (e.g., 1 kHz), and duty cycle (0.2%)—missing any of these forces engineers to assume values, introducing ±15% EVM uncertainty.
Pro tip: Use automated metadata capture where possible. A Python script parsing SCPI logs reduces manual errors by 40% compared to handwritten notes. For field tests, embed GPS coordinates and barometric pressure—a 5G UE tested at 1,500m altitude exhibits 0.7 dBm lower RSSI than at sea level due to air density changes.