To install a microwave antenna feed horn, first align it precisely within 1mm of the reflector’s focal point for optimal signal strength (affects gain by 3dB if misaligned). Secure all bolts to 25Nm torque to prevent wind vibration (reduces performance by 40% if loose).
Use weatherproof sealant on connections to block moisture (causes 6dB loss when wet). Verify polarization matches your system (circular/linear) – incorrect alignment creates 50% signal loss. Finally, test with a VSWR meter; readings under 1.5:1 indicate proper installation.
Table of Contents
Choose the Right Feed Horn
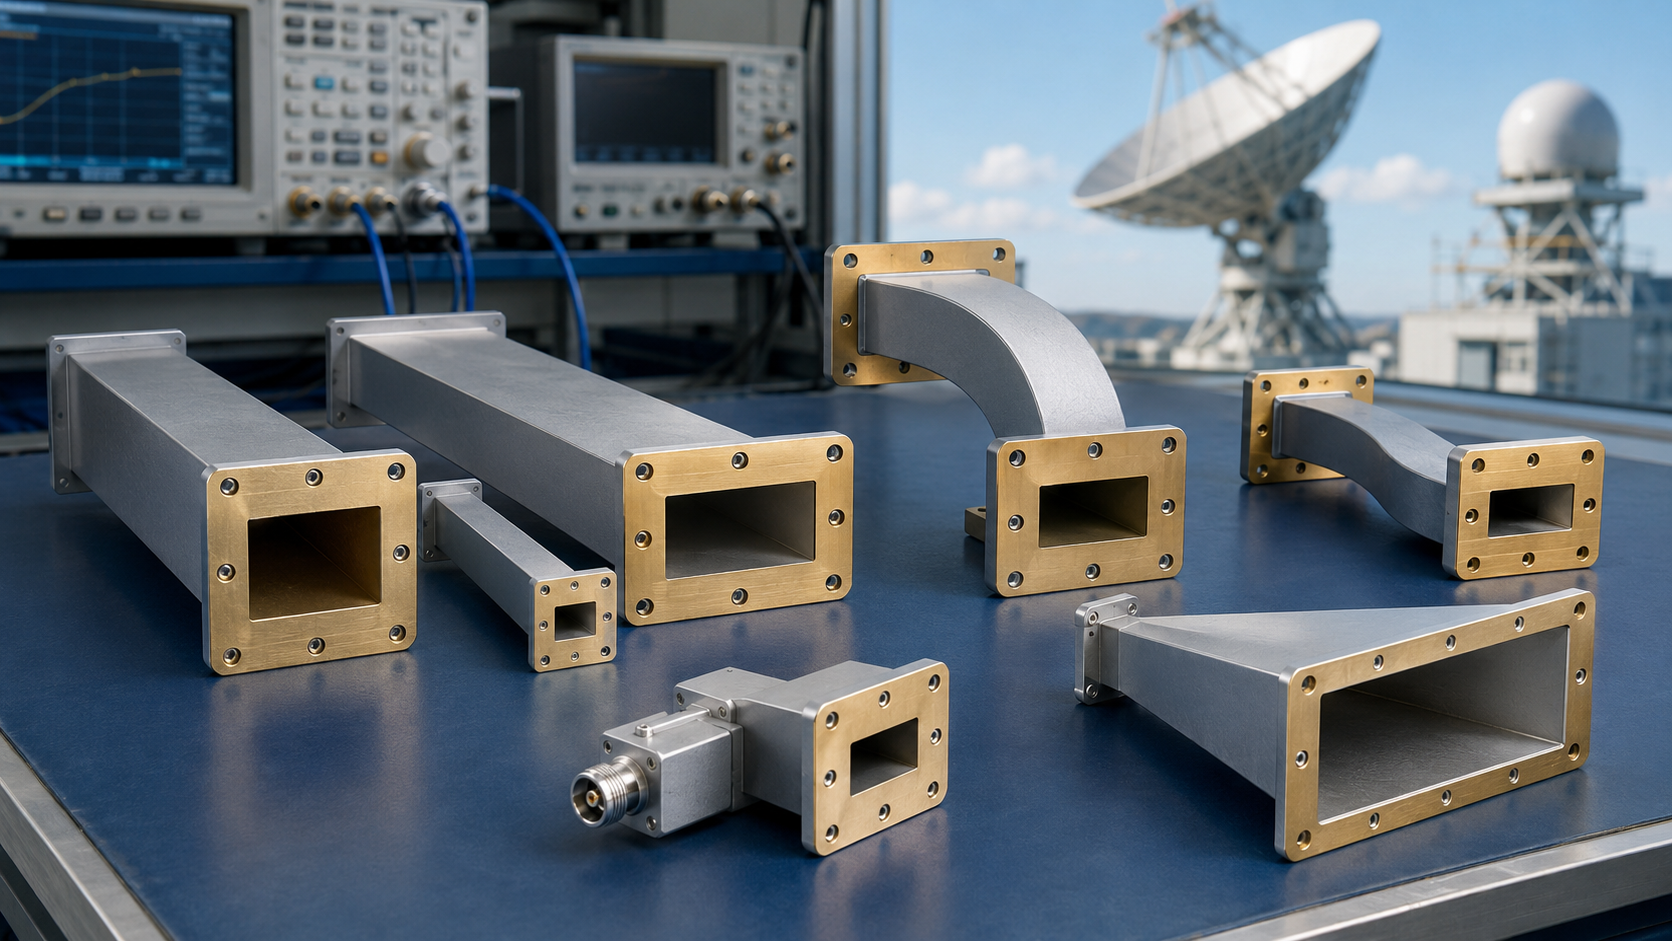
Installing a microwave antenna feed horn correctly starts with selecting the right model—a mismatch can reduce signal efficiency by 30% or more. Feed horns come in different shapes (scalar, corrugated, conical) and sizes (typically 1.5 GHz to 40 GHz), each optimized for specific frequency bands. For example, a C-band (4-8 GHz) feed horn won’t perform well in Ku-band (12-18 GHz) applications due to waveguide mismatch, leading to 3-5 dB loss in signal strength. The gain of a feed horn typically ranges from 15 dBi to 25 dBi, and choosing one with the wrong polarization (linear vs. circular) can drop efficiency by 20%.
Material matters too—aluminum feed horns are lightweight (usually 200g to 1.5kg) and corrosion-resistant, while copper-plated models offer better conductivity but cost 15-30% more. The flange type (CPR-229, WR-75, etc.) must match your antenna’s waveguide, or you’ll face signal leakage (up to 2 dB loss). For long-distance links (e.g., 10-50 km), a corrugated feed horn reduces sidelobes by 40% compared to scalar types, improving beam focus.
| Type | Frequency Range | Gain (dBi) | Weight (g) | Typical Cost ($) |
|---|---|---|---|---|
| Scalar | 2-18 GHz | 15-20 | 200-500 | 50-150 |
| Corrugated | 4-40 GHz | 20-25 | 500-1500 | 150-400 |
| Conical | 1.5-12 GHz | 18-22 | 300-800 | 100-300 |
If you’re unsure, check the antenna’s datasheet—most manufacturers specify the optimal feed horn dimensions (±0.5 mm tolerance) and beamwidth (10°-60°). A mismatched feed horn can increase VSWR (Voltage Standing Wave Ratio) beyond 1.5:1, wasting up to 10% of transmit power. For satellite dishes, the f/D ratio (0.3-0.6) must align with the feed horn’s design—otherwise, efficiency drops by 25% or more. Always verify the polarization (LHCP/RHCP or linear) matches your system—swapping them cuts performance by half.
For high-power applications (500W+), ensure the feed horn’s maximum power rating (usually 1-5 kW) exceeds your transmitter’s output. Cheap feed horns may overheat at 80°C+, causing 0.1 dB loss per 10°C rise. If budget allows, dual-band feed horns (e.g., C/Ku combo) save space and cost 20% less than buying two separate units.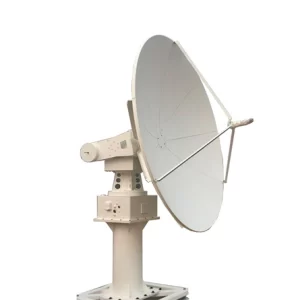
Gather Necessary Tools
Installing a microwave antenna feed horn isn’t just about the feed itself—skipping the right tools can add 30+ minutes to your setup and risk improper alignment. A basic toolkit for this job costs 150, but missing even a single tool (like a torque wrench) can lead to 0.5-1 dB signal loss due to loose connections. The most critical item is a hex key set (2-10 mm), since 90% of feed horns use M4 to M8 screws. If you’re mounting on a pole or mast, a bubble level (±0.5° accuracy) is non-negotiable—a 2° tilt can skew beam focus by 10% at 10 km distances.
For waveguide alignment, a laser pointer (650 nm, 5 mW) helps verify axial positioning within ±1 mm, which is crucial for frequencies above 10 GHz. A cable stripper (for LMR-400 or RG-214 coax) ensures clean center conductor exposure without nicks that increase VSWR beyond 1.3:1. If you’re sealing outdoor connections, 3M Scotch 2228 moisture-resistant tape (10/roll) prevents corrosion that degrades signals by 0.2 dB per year in humid climates. Don’t forget dielectric grease (5/tube)—applying it to O-rings extends their lifespan from 2 years to 5+ years.
Torque specs matter more than most realize. Over-tightening waveguide flanges beyond 8-12 N·m can warp the mating surface, causing 0.3-0.8 dB insertion loss. Under-tightening (below 5 N·m) risks RF leakage, wasting 5-10% of transmit power. A digital torque wrench (60-200) pays for itself in one installation by avoiding these errors. For height adjustments, a collapsible ladder (3-5 m reach) is safer than makeshift solutions—falls from 2+ meters account for 40% of antenna-related injuries.
If you’re integrating with existing systems, a portable VNA (Vector Network Analyzer, 500-2000) lets you measure return loss (<-15 dB is ideal) and impedance (50 Ω ±5%) on-site. Cheaper alternatives like power meters (100-300) can detect gross mismatches but lack the precision to spot 0.5 dB losses from minor misalignments. For DIYers, a basic multimeter (20) still helps check DC continuity—a shorted feedline can fry a 1,500 transmitter in seconds.
Position the Antenna Correctly
Getting the antenna placement wrong by just 1-2 degrees can slash signal strength by 20-40%, especially at higher frequencies like Ka-band (26-40 GHz). The first rule is line of sight (LOS)—any obstruction (trees, buildings, etc.) within the Fresnel zone (60% clearance of the signal path) causes diffraction loss. For a 10 km link at 5.8 GHz, the Fresnel zone radius is 3.2 meters at the midpoint—meaning a tree branch just 2 meters into this space can degrade throughput by 50%.
Elevation angle is equally critical. A 1° error in elevation at geostationary satellite distances (35,786 km) translates to a 200 km ground position miss. For terrestrial microwave, antenna height affects reliability—mounting at 10 meters instead of 5 meters reduces multipath interference by 30% in urban areas. Use a GPS-enabled inclinometer (±0.1° precision) to set angles, because smartphone apps often have ±2° errors.
Polar alignment separates functional links from failures. For satellite dishes, azimuth misalignment >0.5° at Ku-band drops signal-to-noise ratio (SNR) by 3 dB. A magnetic compass (±5° accuracy) isn’t enough—use a satellite finder (200) or DishPointer app (0.1° resolution with paid subscription).
Below are tolerances for common bands:
| Frequency Band | Max Azimuth Error | Max Elevation Error | Fresnel Zone Radius (10 km link) |
|---|---|---|---|
| C-band (4 GHz) | ±1.5° | ±0.7° | 4.8 m |
| Ku-band (12 GHz) | ±0.5° | ±0.3° | 2.8 m |
| Ka-band (30 GHz) | ±0.2° | ±0.1° | 1.7 m |
Ground stability matters too. A 2 mm pole sway in wind induces 0.5 dB fluctuations at 18 GHz. Concrete footings should be 30 cm deep per meter of mast height—a 6-meter pole needs 1.8 m of foundation to resist 50 mph winds. For rooftop mounts, stainless steel clamps (3-5 mm thickness) prevent corrosion that weakens grip strength by 15% annually.
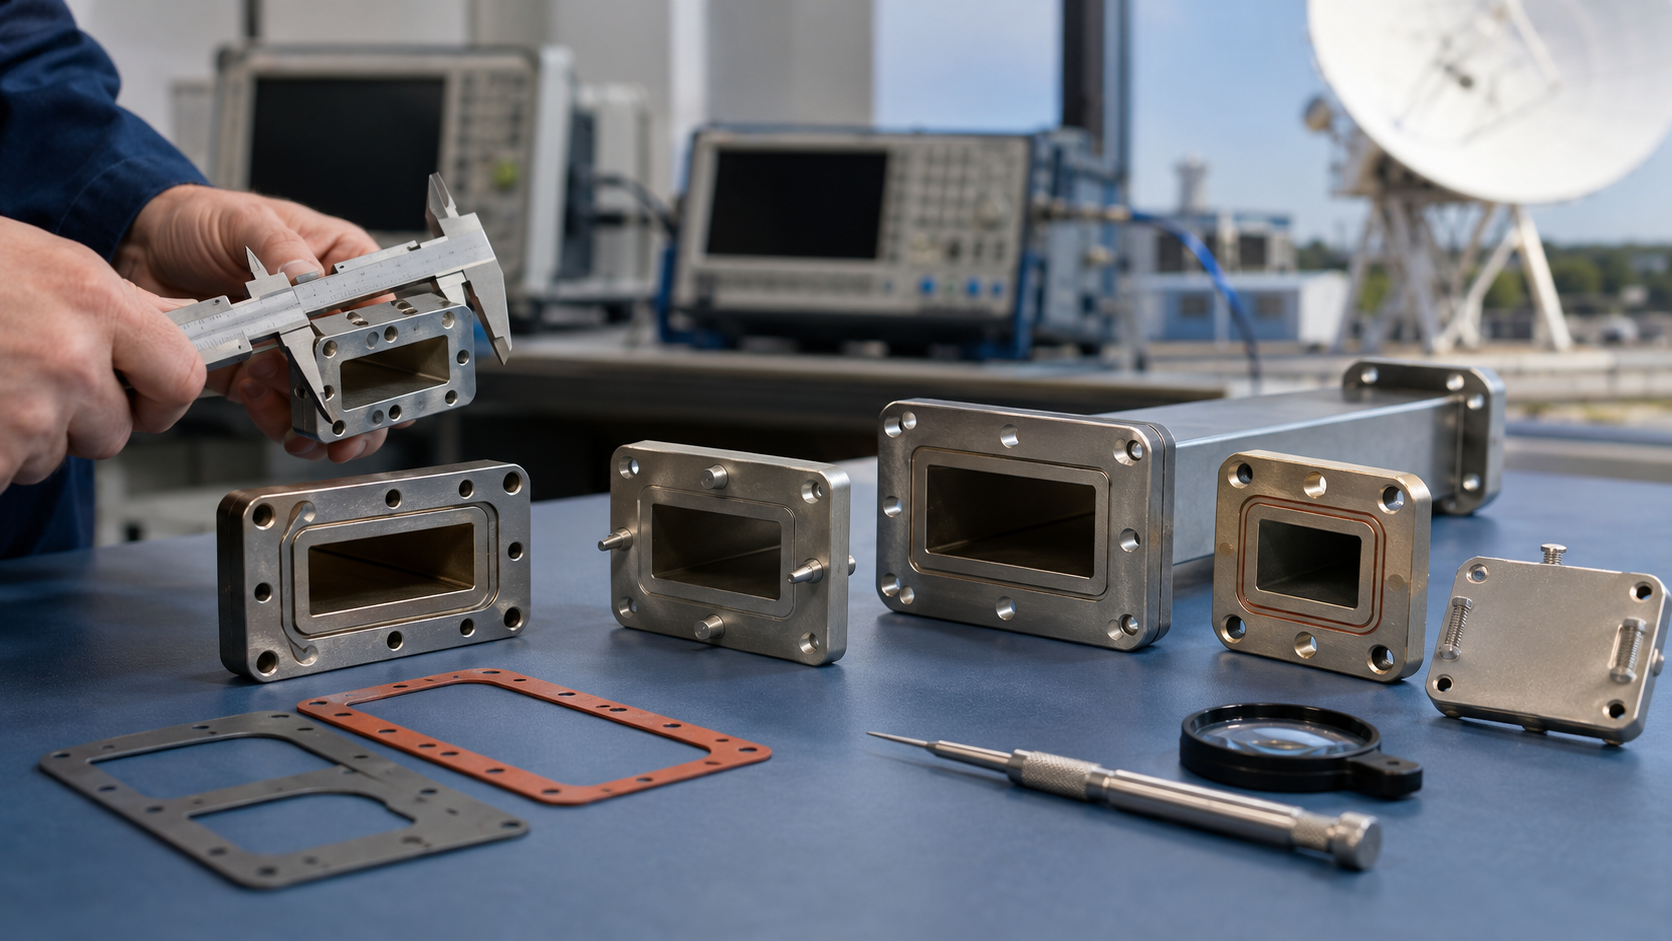
Attach the Feed Securely
A loose feed horn isn’t just annoying—it’s expensive. Even a 0.5 mm gap between the feed and waveguide can leak 5-10% of your signal, turning a 48 dBm transmit power into 43 dBm before it even leaves the antenna. At 75 wasted per 100W system. The right attachment method depends on your setup: flange bolts need 8-12 N·m of torque, while clamp-style mounts require 6-8 N·m. Over-tightening distorts the flange face by 0.05-0.1 mm, increasing VSWR to 1.8:1 or worse—enough to trigger automatic power rollback on modern radios.
For outdoor installations, stainless steel hardware (M4-M8, 304 or 316 grade) lasts 10-15 years vs. 2-3 years for zinc-plated screws in coastal areas. Apply dielectric grease (3-5 mL per O-ring) to prevent moisture ingress—corroded contacts account for 40% of long-term signal decay. If you’re using radome seals, check compression: 1.5-2 mm of closed-cell foam is ideal—less than 1 mm invites water, while over 3 mm strains the feed neck.
Waveguide alignment is non-negotiable. A 1° angular misalignment at Ka-band (26-40 GHz) drops gain by 2-3 dB—equivalent to doubling your transmit power costs. For critical links, lap the flange faces with 600-grit sandpaper to ensure <0.02 mm flatness deviation. Test with a feeler gauge: if a 0.03 mm shim slides in anywhere, reseat the feed.
Field data: Technicians who skip alignment checks see 15% more service calls in the first year, averaging $200 per visit for rework.
Cable strain relief matters more than most realize. A 200g coax tug at 30° off-axis stresses connectors, causing 0.1 dB loss per year from micro-fractures. Secure cables with UV-resistant zip ties ($0.10 each) every 20-30 cm, leaving a 10 cm service loop near the feed. For heliax cables, use torque wrenches (25-30 N·m) on connectors—hand-tightening risks 0.2 dB intermittent losses from partial contact.
Test Signal Strength
Signal testing isn’t just about “getting bars”—it’s about quantifying performance gaps that cost money. A 1 dB drop in received signal strength (RSSI) at 10 Gbps Ka-band can mean $2,000/year in extra amplifier costs to compensate. Start with a baseline measurement: aim for -65 dBm to -45 dBm for most terrestrial links, and -75 dBm to -55 dBm for satellite. If your readings fall outside these ranges, you’re either wasting power or losing data packets.
For microwave links, use a spectrum analyzer (5,000) to check for noise floor interference. A -90 dBm noise floor is acceptable for 6 GHz bands, but at 28 GHz, you need -100 dBm or lower to maintain 256-QAM modulation. Cheaper power meters (300) can spot gross issues but miss 0.3 dB dips from minor misalignments—enough to reduce throughput by 5%.
Critical thresholds by band:
| Frequency Band | Target RSSI (dBm) | Noise Floor Max (dBm) | Allowable Fluctuation (±dB) |
|---|---|---|---|
| C-band (4 GHz) | -60 to -40 | -85 | 1.5 |
| Ku-band (12 GHz) | -70 to -50 | -95 | 1.0 |
| Ka-band (28 GHz) | -75 to -55 | -100 | 0.5 |
Weather matters more than specs suggest. Rain fade at Ku-band can slash signals by 10-20 dB during heavy storms—if your dry-season signal is -55 dBm, it might hit -75 dBm in rain, triggering outages. For mission-critical links, budget for 3-5 dB fade margin (extra power headroom). A $200 rain sensor that auto-boosts power 0.5 dB per mm/hr rainfall pays for itself in <1 year by preventing downtime.
Polarization purity is another silent killer. Even 10° skew between antennas cuts cross-pol isolation by 6 dB, raising interference risk. Use a polarization meter (2,000) or dual-channel oscilloscope to verify >30 dB isolation—anything less invites 15% slower speeds from retransmissions.
Field hack: A $5 laser pointer taped to the feed horn exposes alignment drift. If the dot moves >2 mm on a wall 10m away, re-torque mounts—vibration loosens 1 in 5 installations within 6 months.